Beginners Guide to Teaching English as a Foreign Language (TEFL)
Authored By:

One of the most frustrating questions I had before going abroad was, how can I teach English as a second language in Thailand. Every time I searched this on Google, I was flooded with organizations that help you get TEFL certified or apply for positions abroad (then again that is how I found CIEE!). I was frustrated because no matter how many different ways I phrased it, I could not get my point across to Google. I did not want to know the requirements to teach English in Thailand, nor did I want to read a list of reasons why I should teach abroad. I wanted to know the methodology, best practices, and know-how of learning to teach English as a Second Language (ESL) to students who may or may not speak English already. I wanted to learn how people approached teaching in a new culture, specifically Thai culture. Simply put, I wanted to learn how teaching works.
Across the next few posts, this is what I want to address: how to become an ESL teacher and what that transition looks like. Before starting, I want to preface this post by acknowledging my prior and current teaching experience.
I came to Thailand with a series of prior experiences in education, though this is the first time I teach English as a second language and am the primary teacher in a large classroom. On my list of experiences, I volunteered in a kindergarten classroom for four months, was an Instructional Aide to an anthropology class in college for four months, taught K-4th graders how to read as a tutor for two years, and worked as a standardized test prep tutor for 7th graders for one year. In my tutoring experience, I was the primary teacher of one-on-one sessions with students or the occasional group sessions. Once I accepted my offer to teach in Thailand, I got TEFL certified and volunteered to teach English to refugees as part of my certification program.
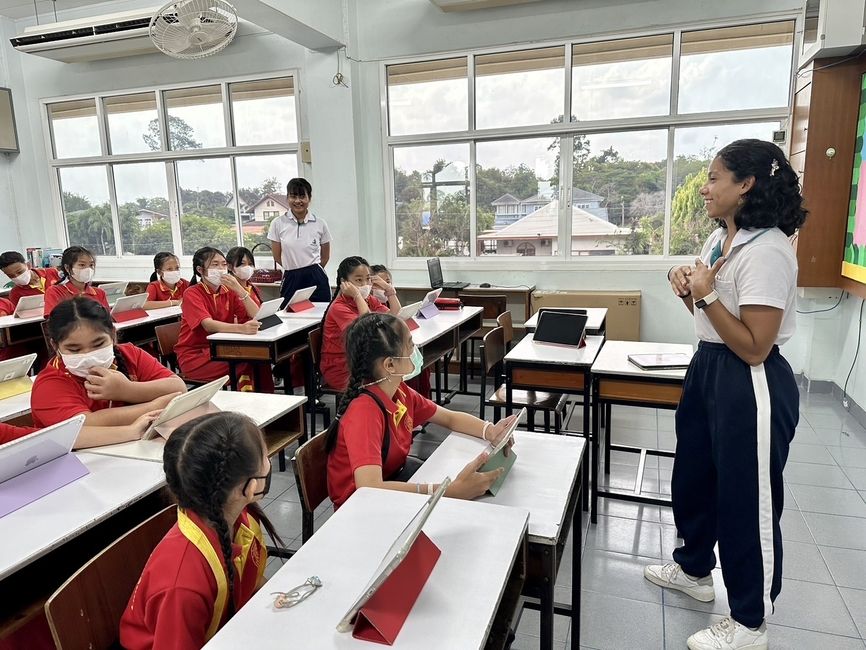
I don’t write this list of my past jobs to brag about my experience before coming here, but instead to clarify some of my credibility in writing this post and to be transparent about the fact that I came to Thailand with the advantage of having experience and that even with this experience, there was so much I learned. I also want to acknowledge that my experiences at Maryvit School Pattaya as a Prathom 6/ P.6 (grade 6) teacher differ from teachers who work in other parts of Thailand, in other countries, or whose students are of different ages. Therefore, I urge you to consider my experience but take it with a grain of salt.
What I Learned From TEFL and My 20-Hour Practicum
Before arriving in Thailand, I got TEFL certified through CIEE’s 150-Hour Course. Part of this course was a required practicum of 20 hours where we could either be a primary teacher or co-teacher of ESL students. I was thrilled to find a volunteer experience with the non-profit, World Relief. I volunteered online, teaching English to refugees, primarily from Ukraine, Syria, and Myanmar. Below, I wanted to share some takeaways I gathered from getting certified and the advice from the primary teacher of the class at World Relief, Emily, that helped prepare me to teach before I even boarded my flight to go abroad.
- Keep new vocabulary words at about 6 to 12 at a time. The number of new vocabulary words you introduce should depend on how much time you have, the age of your learners, and their proficiency level.
- Changes to speech. Learn to speak at a natural speed (not too fast) and pause between sentences a bit longer to allow your learners a chance to process the language. I also changed the verb tenses to create as simple sentences as possible. Rather than a more complex sentence like, “I’ll head to work,” I would change this to “I go to work.” Doing this eliminates the colloquial verb and future tense (which they have not learned).
- Show, don’t tell. When introducing new ideas or explaining activities/ giving directions, include lots of visual aids in your slides like pictures, diagrams, realia/real-life objects, examples of the final product, or mime actions in class. Use verbal instructions as well, but don’t rely solely on that.
- Practice giving instructions before going in front of a class. Of all the challenges I expected from teaching, learning to give directions was surprisingly more difficult than I expected. Especially since your students don’t speak English natively, explaining instructions for assignments or activities will take more time than you might initially expect. Do yourself a favor and practice giving these instructions in front of a mirror or write notes so you don’t forget to explain any steps.
- Read Body Language. When I worked with refugees, I realized when my instructions were unclear, they would not tell me they were confused. After growing up in American schools and teaching in schools, I took for granted how students tend to be more direct if they are confused. I learned I needed to learn to scan and read the room to figure out how the students felt about an activity rather than expecting them to communicate that with me.
Learning to Lesson Plan
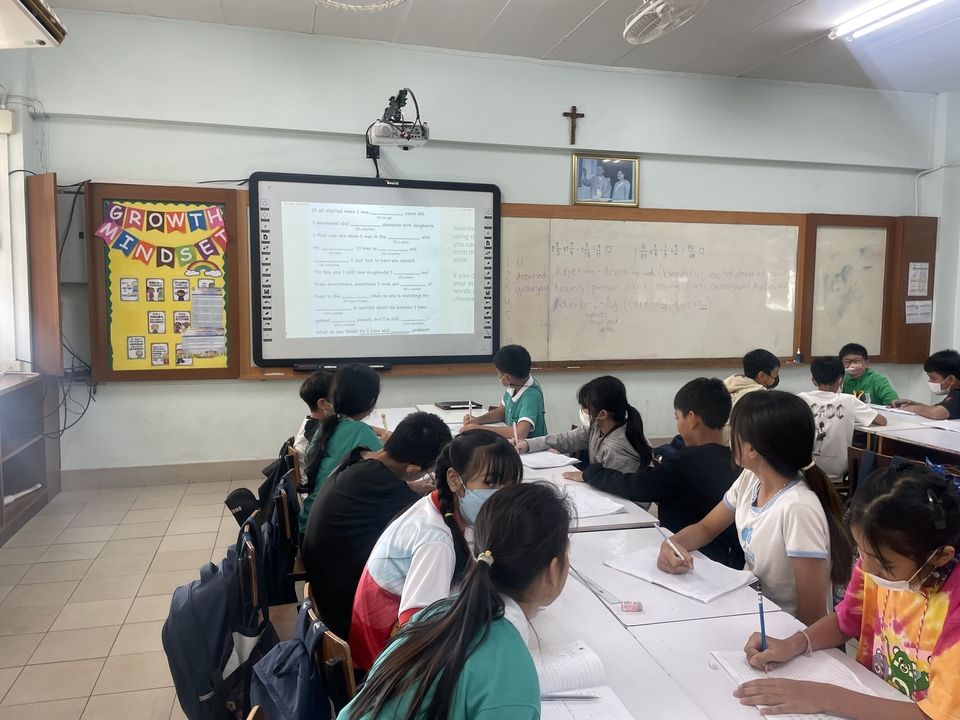
In 85% of my teaching hours, I teach to 11 and 12-year-old students. The other 15% of the time, I teach younger students from ages 8 to 10. Since my standard curriculum is strict, most of my creative lesson planning is for these younger students during my after-school classes. I am including here my general process for lesson planning these classes, including which websites I use most to plan.
- Consider the age group, proficiency level, and number of students. With my P.6 students who are 11 and 12 years old, I estimate that most of my students are between an A2 and B1 proficiency in English. I also teach P.1/P.2 students at an A1 level, and P.3/P.4 are closer to A2.
- Decide on a topic/idea. Some topics I have covered in my extra classes include holidays (Thanksgiving, Christmas, etc.), body parts, and daily routines. You can also plan based on the grammar points you want to focus on. In the past, I have focused on teaching my students higher-level adjectives, how to tell time, and practicing with verb conjugations (present tense).
- Find your primary activity. When I plan 50-60 minute classes, I intend for my main activity to take up 25-35 minutes (50-60% of the time). I typically find/ think of my primary activity by ISL Collective (see below). Some of my past lessons include creating a full-day birthday party for a friend, drawing their family tree, creating an adventure list (akin to a bucket list), or writing a letter (to Santa).
- Decide on a warm-up/ introductory activity for your primary activity. I typically want this to take between 15-20 minutes. This can be introducing or practicing vocabulary related to the primary activity, watching a clip online, or doing a grammar exercise. Some examples I have given to my P.1-4 students have been a word search, crossword puzzle, vocabulary matching game, fill-in-the-blank worksheets, and bingo (using their vocabulary words).
Tips for lesson planning
Account for the amount of time it takes for transitions. These include setting up your slides at the start of class, taking attendance, creating groups, moving to groups, turning in assignments, ending class, and more.
Have a backup activity that can also be bell ringers. Activities you plan and the time it takes to do them will likely vary from class to class. Certain activities I’ve done with one class that have taken up the whole period end up taking other classes only 75% of the time. Keep in your back pocket quick activities your students can jump into if they finish early. I love using tongue twisters, pop vocab quizzes, and (appropriate) English slang (for older students). As a bonus, you can use these same activities as 5-minute bell ringers at the start of class to help transition your students from their last subject into English.
Examples of my lessons: Adventure List (One thing not included in these slides is the hard copy example I made of 6-8 things on my adventure list WITH pictures that I drew. This was the main objective of teaching them what an adventure list is), Making A Comparative Chart, Teaching Adjectives, and Thanksgiving. One thing to note is that I also love writing on the board and using in-class objects, so not everything is in the slides. I hope that my slides can be a rough guide to the types of activities you can do with your students.
List of my favorite resources for lesson planning:
- Slidesgo. I use this website to find nice templates for Google Slides of PowerPoint
- ChatGPT (to brainstorm potential activities)
- TeachersPayTeachers. After making a free account, you can find and download a mix of paid and free activities.
- Instagram and Pinterest.
- Games to Learn English. Online games to play centered around specific topics such as daily routines or learning the months. Best with lower proficiency students.
- Teach This. Organized very well for finding worksheets and activities surrounding specific grammatical structures and other general topics like animals, Easter, etc. Resources are great, but many require a membership since only 25% are free for download. Great for deciding on a topic/ idea.
- ISL Collective. Use this website to find worksheets and activities. The organization is not as great as other websites, so use a specific keyword (Thanksgiving, subject-verb agreement) when on the website. It requires a free account.
Classroom Management
This is something I wished I anticipated more of during my first semester. I wish I had come up with better ideas for attention grabbers (“Can I have one clap, three claps, two claps” in random numbers) and started my semester by being firmer with my students. I kept fearing being too harsh or mean to my students when they misbehaved in class, and I am slowly learning that it is important to make rules and create boundaries for acceptable classroom behavior. When those boundaries are crossed, it is important to communicate that through a system of rewards and punishments. My favorite one thus far has been through Class Dojo (see below).
Class Dojo

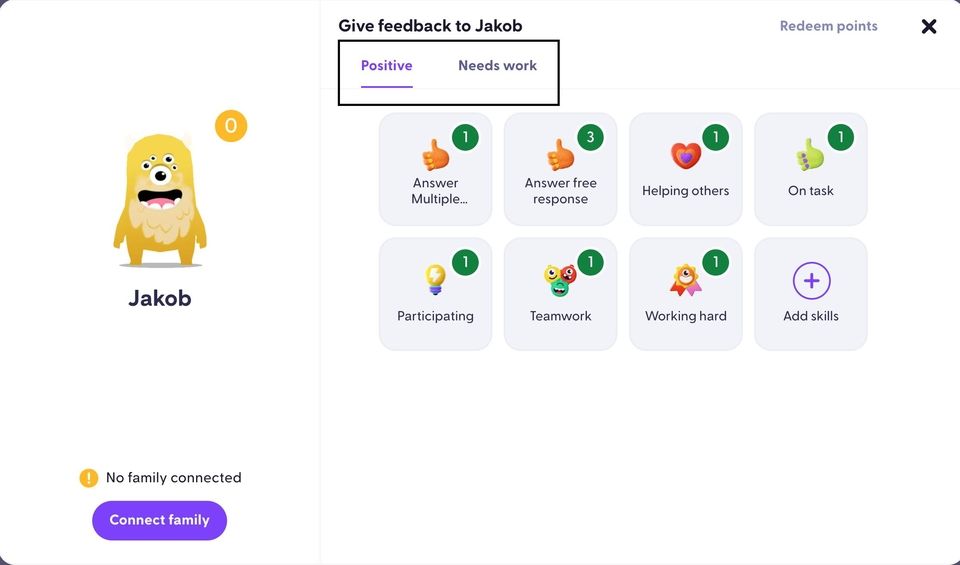
ClassDojo is a free online (accessible on desktop and as an app) classroom management tool. In ClassDojo, you can create multiple classrooms with your class list. The app helps you create randomized groups for your classroom, take attendance, and record positive and negative classroom behavior. I use class dojo by dividing my class into teams of 3-4 students each. Whenever someone in class is doing positive work, such as volunteering to answer a question or is on time for class (not in the bathroom), their team gets points. Whenever students engage in negative behavior, like being disrespectful or copying other students, their team loses points. At the end of every six weeks, the group with the most points can choose a prize such as lunch with the teacher, snacks from the school store, or more.
Related Posts
Introduction to Simba
Hi all! I'm Simba, and I'm currently teaching in Thailand for a year. This post is just a little something to share about myself and why I decided to join... keep reading

Money Matters: Navigating Finances as an Expat Educator in Thailand
Let’s get straight to the point: money. Whether you have already accepted a position to teach in Thailand or are still considering applying, you have likely already learned that Thailand... keep reading

Hot Take: “Culture Shock” in Thailand
TLDR; if you approach new cultures with a curious and open mind, nothing will be shocking :)